Building a table is often thought of as a task that should be left up to the professionals. But with the right tools and knowledge, it can actually be quite easy. In this article we will provide simple instructions to build your very own table in a unique new way. With just a few steps and some creativity, you will soon have your own beautiful piece of furniture that will last for years to come. So let’s get started!
What You Will Need
Assuming you would like a detailed content section for the subheading “What You Will Need” for the blog article “A Simple Article to Build Your Table in New Way”:
In order to build your table in a new way, you will need some supplies. First, you will need a sturdy and level surface. This could be a table, countertop, or even the floor. You will also need something to serve as the base of your table. This could be a large piece of plywood, particle board, or MDF. You will also need some saw horses or another means of support for your base. Additionally, you will need some sort of legs for your table. These could be metal hairpin legs, wooden dowels, or anything else that can support your tabletop. Finally, you will need screws or nails and some sort of adhesive to attach everything together.
Step One – Planning
Building a table is easy if you have the right plan. Here’s what you need to do to get started:
1. Decide on the size and shape of your table.
2. Choose the material you want to use.
3. Gather the tools and supplies you need.
4. Make a plan of how you will build your table.
5. Follow your plan and build your table!
Step Two – Table Base
After you have cut your wood to size and sanded it down, it is time to start building the base for your table. You will need four legs for the base, so mark out where you will need to drill holes for the legs. Pre-drill these holes so that the legs can be easily attached later.
Now it is time to start assembling the base. Begin by attaching two of the legs together using screws or nails. Make sure that the legs are level with each other before moving on. Once you have attached two of the legs together, do the same with the other two legs.
Finally, attach all four legs together at the top using screws or nails. Again, make sure that everything is level before moving on. Your table base is now complete!
Step Three – Table Top
After you have your wood and supplies, it’s time to get started on building your table top. Begin by measuring and cutting your wood to the desired size and shape. If you’re using a saw, be sure to use proper safety precautions.
Next, sand your wood until it is smooth to the touch. You can use either a hand-held sander or a power sander for this step. If you’re using a power sander, be sure to wear a dust mask to avoid inhaling any particles.
Once your wood is sanded, it’s time to stain or paint it. Choose a color that coordinates with the rest of your room’s decor. Apply the stain or paint evenly and allow it to dry completely before moving on to the next step.
Now it’s time to add any hardware you desire, such as handles or knobs. Once again, be sure that everything is firmly in place before moving on.
Finally, attach your table top to the base. You can use screws or nails for this step, depending on what type of base you’re using. Be sure that everything is level and secure before using your new table!
Step Four – Finishing Up
After your table is built, you will want to finish it off by adding a few final touches. First, add any trim or molding that you desire. This can really help to give your table a finished look. Next, sand any rough edges and then stain or paint the table as desired. Finally, add any hardware that you need, such as handles or drawer pulls. Once all of these steps are complete, your new table will be ready to use!
How to Make a DIY Epoxy Resin River Table in 5 brief steps
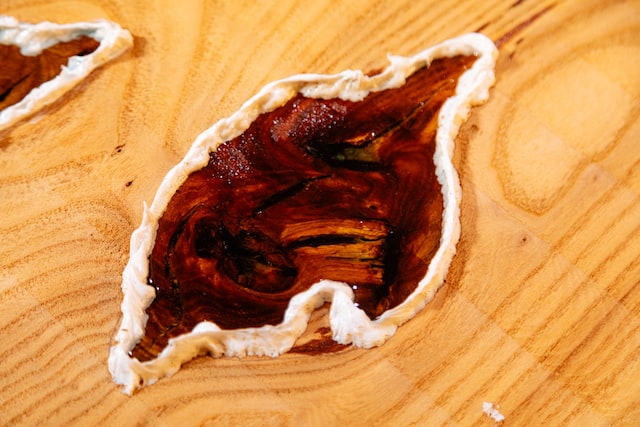
Epoxy resin is a liquid polymer that hardens to form a clear, durable surface. When combined with wood, epoxy resin can create a beautiful and unique piece of furniture. Here’s how to make your own DIY river epoxy table in 5 easy steps:
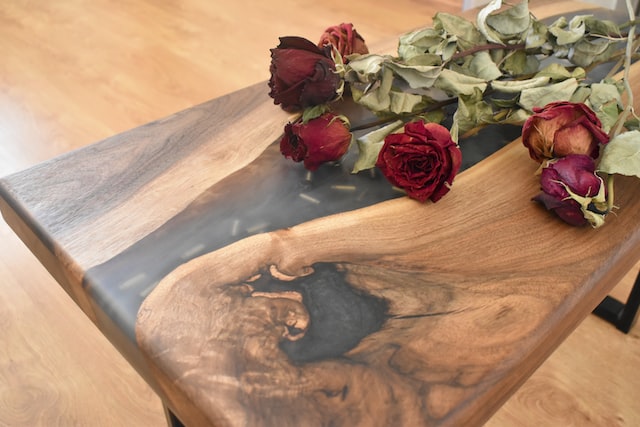
1. Choose your wood. For this project, you’ll need two pieces of wood that are the same size and shape. We used live edge walnut slabs, but you can use any type of wood you like.
2. Prepare your workspace. Cover your work surface with plastic or newspaper to protect it from spills. Then, set up your workspace with all of the materials you’ll need: epoxy resin, hardener, mixing cups, stir sticks, gloves, and a heat gun (optional).
3. mix the epoxy resin and hardener according to the manufacturer’s instructions. Be sure to mix thoroughly – otherwise, the epoxy won’t cure properly.
4. Apply the mixture to one piece of wood using a brush or roller. Then, place the second piece of wood on top of the first and clamp them together tightly. You may also want to use weights on top of the second piece of wood to help keep it in place while the epoxy cures.
5. Allow the epoxy to cure for at least 24 hours before removing the clamps and weights. Your DIY epoxy resin river table is now complete!


